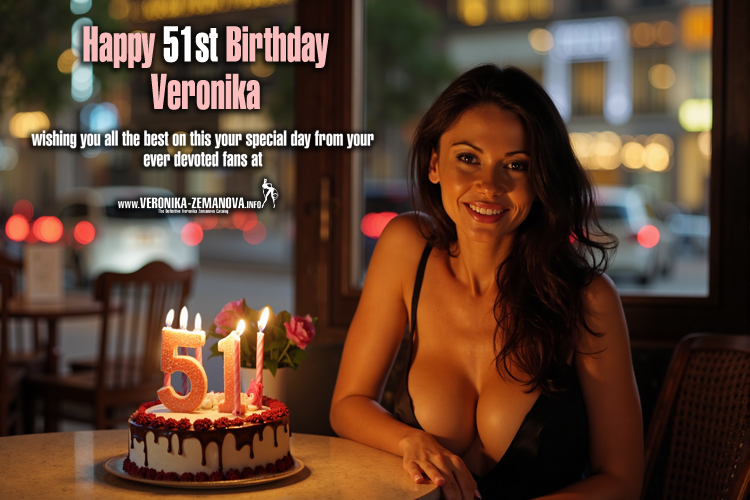
Happy 51st Birthday! May this special day bring you joy, laughter, and love from everyone whose life you’ve touched. Cheers to 51 amazing years and to many more to come. Your ever endearing fans extend birthday greetings to you as always !!!!

Latest info about Veronika Zemanova
Happy 51st Birthday! May this special day bring you joy, laughter, and love from everyone whose life you’ve touched. Cheers to 51 amazing years and to many more to come. Your ever endearing fans extend birthday greetings to you as always !!!!
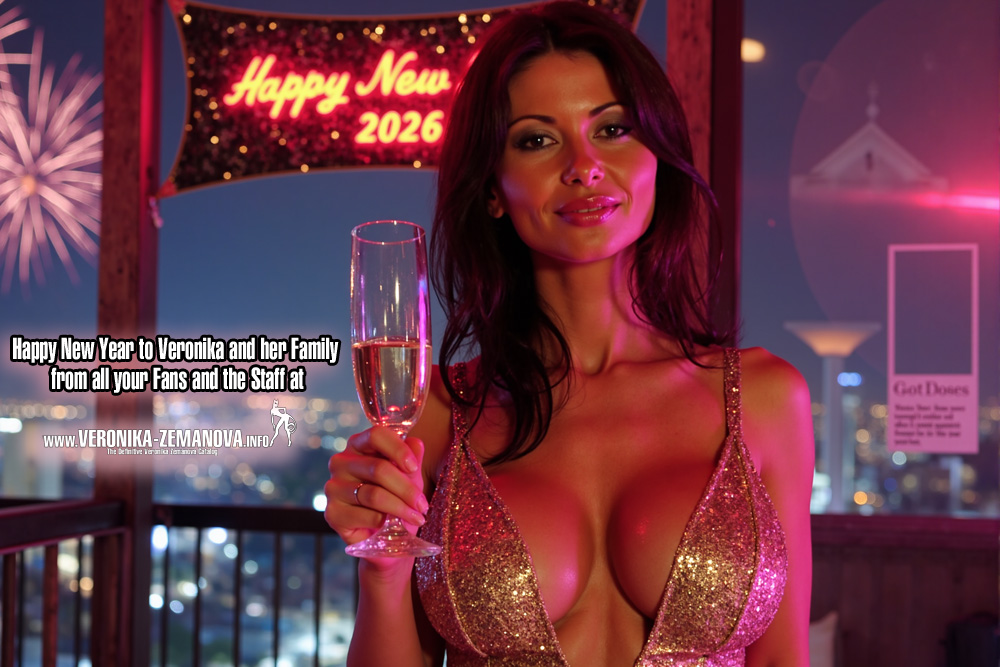
The Staff and all the Fans at www.VERONIKA-ZEMANOVA.info want to wish Veronika and her entire Family a wonderful and prosperous 2026!!!
Here’s wishing Veronika, her family and all her fans a Merry Christmas …
Again, I want to thank all those who contributed some new material to the Veronika collection this past year !!! It’s fans like you that make this place a great place to come and visit each day !!!!!!
We’ve just hit a historic milestone—the 10,000th artwork has been uncovered!
That’s 10,000 stories, 10,000 visions, 10,000 sparks of human creativity featuring Veronika Zemanova lighting up our world.
It is great to see that her beauty she continues to inspire artists. Here’s a little preview of some of the best of the first 10000:
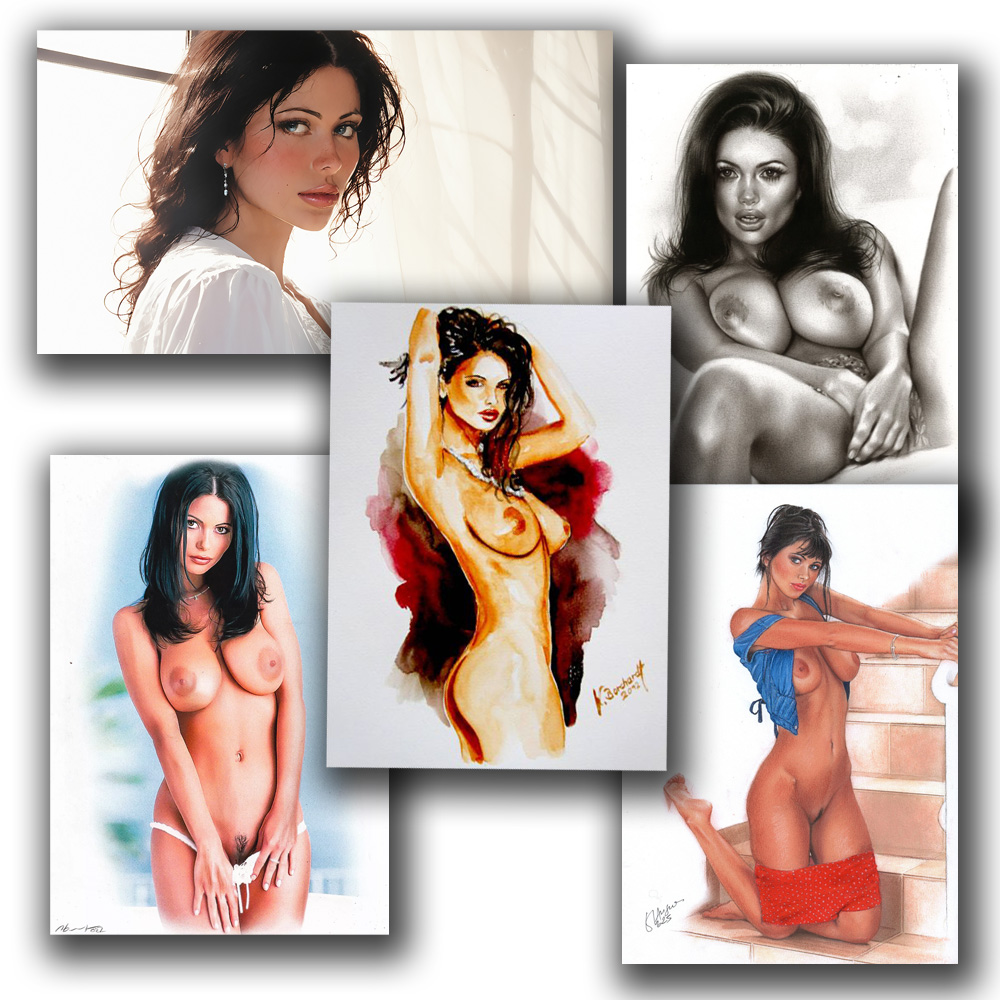
Here’s to all the artists who made this possible. The journey doesn’t stop here—bring on the next 10,000!
You can discover the full collection by visiting the Art section of the Index website: https://www.veronika-zemanova.info/Index/Veronika-Art-Index.html
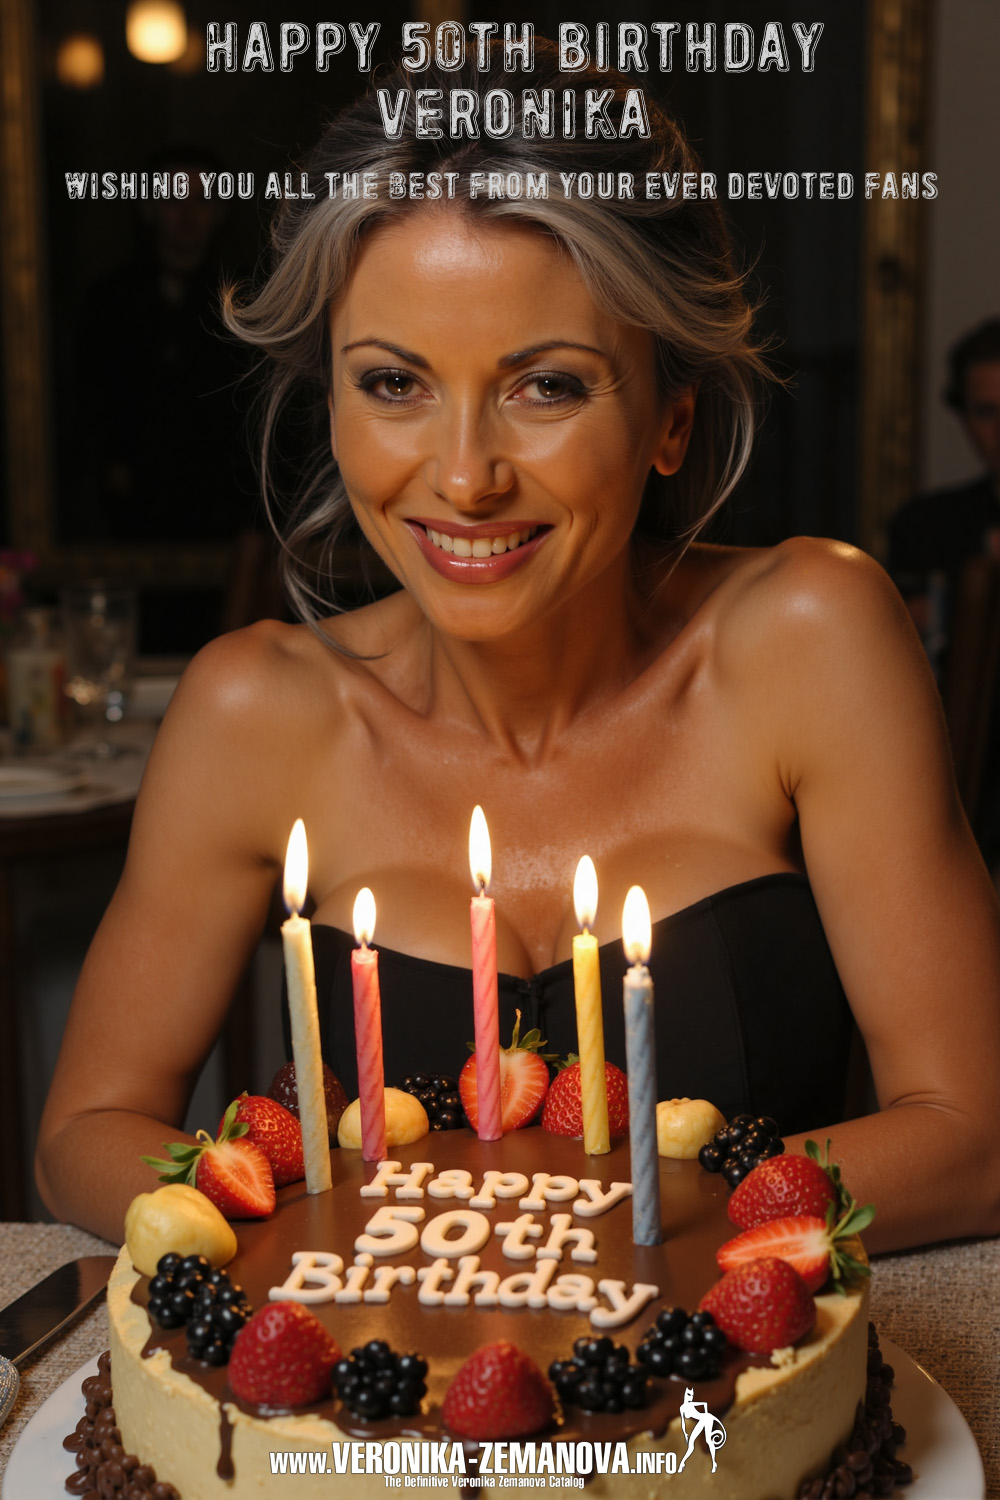
Wow … you’ve hit the “Big Five Oh” Veronika !!!!!
Happy 50th Birthday! Today, we celebrate half a century of you—your achievements, your journey, and the countless ways you make the world brighter. May this special day bring you joy, laughter, and love from everyone whose life you’ve touched. Cheers to 50 amazing years and to many more from all your ever endearing fans!
The Veronika Models have been uploaded to TensorArt for now. They might be uploaded to CivitAI eventually. The main reason for using TensorArt is that they offer free image generation for registered users. Once registered you will receive enough daily credits to allow you to generate a dozen or so images per day. CivitAI does not have a similar program from what I can tell. Of course, TensorArt does offer subscription options to allow you to create a virtually unlimited, higher resolution set of images.
Here is the URL for TensorArt.

Click the arrow down next to the ‘Create’ button and then the Creation button.

In the left tab which will pop up, select “Text2img“:

When you run the Creation process for the first time, it will default to the Stable Diffusion (SDXL) model. The Veronika models are based on Flux and not Stable Diffusion models. You can read up on the differences here: https://getimg.ai/blog/flux-1-vs-stable-diffusion-ai-text-to-image-models-comparison
The Model needs to be changed to Flux. Do this by selecting “Basic Model – XL”. This will bring up the Model selection page:

Pick Basic model “Flux.1 – dev-fp8” from the list. This was the model used to create the LoRAs, so must be selected to get an accurate rendering. After that is selected, you will see that the Basic Model has been updated to Flux.
The next step is to add the appropriate LoRA you want to use. Simply select the ?Add LoRA? button.

For those unfamiliar with some of the AI generation tools, LoRAs (Low-Rank Adaptations) are extensively used in text-to-image models to generate images with specific elements like: distinct characters, unique styles, or particular objects. It essentially steers the image creation into a desired direction based on the attributes trained into the LoRA. In creating the Veronika LoRAs I wanted to be as accurate as possible in providing the initial training data (ie. images) to create them. For the LoRA to accurately represent a real person, you want to provide the training with as many good quality images from as many different angles of the person so that when an image is subsequently generated using the resulting LoRA, it is able to draw on the learned images for reference and not fill in missing gaps with predicted pixels when creating a new image. I happen to have quite a sizable catalogue of unreleased images of Veronika in my private collection which I was able to draw on to put together what I thought were the best images to use to train a Veronika LoRA model.
After selecting the Add LoRA button, you will have to perform a search to find the Veronika LoRA you want to use. At the top search bar simply enter the text Zemanova.

Once you key in Zemanova you will see all the available LoRAs to use. I would highly recommend Starring the ones you plan to use frequently as this will make for faster retrieval in the future. Then you simply need to hit the My Starred button the next time you want to load a new LoRA.

There are 3 LoRAs which have been created which are very good to use to generate realistic photos of Veronika. They are all similar with some slight differences between them: Zemanova V2, Zemanova V3 and ZEMANOVA Fluxed. I would recommend using either the Zemanova V2 or Zemanova V3 LoRAs for the absolute best results. Here’s a comparison of all 3 LoRAs:
ZEMANOVA Fluxed LoRA Model (created by ManOfCulture)
Link: https://tensor.art/models/775472460280703407
From the generated images I can tell that the LoRA is based primarily on images published by Penthouse. As Penthouse posted all their pics in the reverse orientation, all the of the MoC generated images result in a mirror imaged Veronika.
Still results in very realistic facial images however.
Several of the images used to train the LoRA must have been magazine scans as every once in a while you can see stripes in the final image.
Views from the rear are not as accurate … occasional dark patches on the butt cheeks and little or no sidewinders visible.
Zemanova V2 LoRA (created by t-man)
Link: https://tensor.art/models/796834248926639537
Trained using only images after her first set of implants.
The most accurate LoRA in representing images of Veronika for all orientations. The training images included high resolution pics of Veronika from all angles.
Best ass and sidewinder pics.
2 front teeth with slight gap accurately represented.
Zemanova V3 LoRA (created by t-man)
Link: https://tensor.art/models/795395486422106135
Trained using only images after her second implants.
There were fewer naked images from all angles to train the LoRA with for this vintage resulting in slightly reduced accuracy for rear images, however frontal and side images are very accurate.
Second implant breast shape perfectly rendered.
Find below some sample images from all 3 LoRAs using the EXACT same prompt (ie input):


When the LoRA was trained it used some specific parameters to create the model. These parameters should automatically load when you add the Veronika LoRAs. Deviating or overriding these values will adversely affect the final generated image outcome as more “weight” will be applied to certain variables affecting the final outcome away from the Veronika?s true likeness as taught.
Please use these defaults as those are the values which produce the most accurate likeness of Veronika, deviating from the default will negatively alter Veronika?s appearance.
The first critical parameter is the ?strength?.

For Zemanova V2 the default strength is 0.82. For Zemanova V3 it is 0.8.
The final setup of the Model and LoRa should look like this (in this case for Veronika V2):

Next a few other critical parameters which must be set are the Aspect Ratio, Sampler, Sampling Steps, and Guidance Scale.

The Aspect Ratio is merely the size and orientation of the resulting image. These sizes are primarily driven by the current capabilities of the underlying image generation models and so deviating from the defaults will likely fail to render a useful result. Note that there might be a difference between the current max resolution which can be selected if you have a FREE vs PRO membership. The image shown above is for a PRO membership.
For the Sampling Method, please use the following: Sampler = euler, Sampling steps = 20; Guidance Scale = 3.5. Again, deviating from these parameters will adversely impact the final rendered result from looking like Veronika as the LoRA was trained using these specific parameters.
If you scroll further down you will see an option to provide Upscaling as part of the initial image generation. This feature will require additional credits per image, but it is still less expensive to perform the Upscaling at the initial image generation phase as opposed to first creating the image and then upscaling as a secondary step. I find the built in Upscale function to be extremely good and beneficial in creating a really accurate looking image. Sometimes if the image is too small, some of Veronika?s features get distorted because there simply aren?t enough pixels to accurately render it. See the image below for suggested upscaler settings, I found that these have worked extremely well. A max 2X upscale is recommended to not introduce too many artifacts. The specific R-ESRGAN 4x+ upscaler works exceptionally well, so recommend using it.

Now that the Model and LoRA are loaded and everything has been setup, you are now ready to start and create some images.
Now comes the most important step ?. Entering your Prompt, which will describe exactly what you want your image to portray. Enter your prompt on the top making sure to include the specific keyword to activate the LoRA you selected. The specific keywords for the 3 LoRAs are as follows:
The prompt can be as descriptive as you like. I find it best to describe the foreground, background, clothing, shoes, hair (style / colour), makeup, pose, lighting etc. The more details you include the more consistent each image will be when creating multiple ones.
You can always start with a simply prompt and then expand on it afterwards if you like the overall results when using the simple prompt. Below is an example of simple prompt of Veronika walking on the beach:

To expand the prompt to make it more descriptive, TensorArt has a built in AI prompt expander. I would recommend starting with that first.

When you click that icon it will come back with 3 different expanded prompts ? each with their own attempts to add more details to each of the prompt elements. If you like one of them simply Select it.

And now the resulting image with one of the revised prompts.

Being as descriptive as possible will guarantee some level of consistency if creating multiple images using the same prompt. See the example below where most items in the image are described.

On the contrary, here is an example of what will happen when you are not as descriptive as possible in terms of certain details. All I said was that she is wearing a short dress. Because I did not specify the colour or style of the short dress, you?ll see that I got 4 completely different dresses in the images that were generated.

There is an excellent resource on github where someone has created a set of descriptions and the resulting images for things like hairstyles, lingerie, camera angles etc,
https://github.com/ataylorm/FluxAIGridComparisons


When you are finally satisfied with your prompt choose the number of images you want to create and then hit the Generate button.

That?s it ?. Have fun creating new images of Veronika !!!!! You are now the photographer !!!!
Commentary on Results:
I personally am very pleased with the resulting outcomes with a few shortcomings that I will mention. Every once in a while you will see some strange issues / artifacts are not a fault of the LoRA itself but related to the underlying image generation engine used by TensorArt or CivitAI. First of all, the image generation tools are currently configured to not generate accurate NSFW images …. things like nipples and vagina’s get distorted on purpose. In the case of the Veronika generated images you will often get blurred nipples for example. I can tell you that the images of those areas I provided to train the LoRA were super accurate and detailed. It’s just that the image generation tool using the LoRA interferes in properly depicting those areas

You can post process these using Photoshop or similar image editing software to cleanup / fix the breasts. The same applies for pictures of her vagina ? they get completely distorted most of the time.
The other thing which happens frequently is that Flux renders extra fingers or toes. You can try to add a description in the prompt saying the hands or feet should be perfectly formed with 4 fingers and 1 thumb and 5 toes. This works most of the time but is not perfect. When using Stable Diffusion you could include things you don?t want to see in the image in the ?Negative Prompt? field, however Flux does not support negative prompts, so best to include what you do want to see in the image as part of the Prompt field.
If you perform a search in the LoRA database, you will find some LoRAs developed to specifically try and render nipples, better hands and feet for example. However you need to be careful when using these LoRAs along with the Veronika one you are using. If the other LoRA you load had any other woman’s image as part of its own training images then it will move the resulting image away from Veronika?s likeness that was trained for the Veronika LoRA with as it will be blended with the other LoRA’s information so to speak based on the strength parameter used for the other LoRA.
The Staff and all the Fans at www.VERONIKA-ZEMANOVA.info want to wish Veronika and her entire Family a wonderful and prosperous 2025!!!
As always, I wanted to take this opportunity to wish the fans of the website / forum and Veronika herself of course, a very:
Again, I want to thank all those who contributed some new material to the Veronika collection this past year ?. it?s fans like you that make this place a great place to come and visit each day !!!!!!
In light of the latest Flux AI developments and the plethora of AI creations featuring Veronika which have already been created, a new section to the website has been added which features just the AI sets.
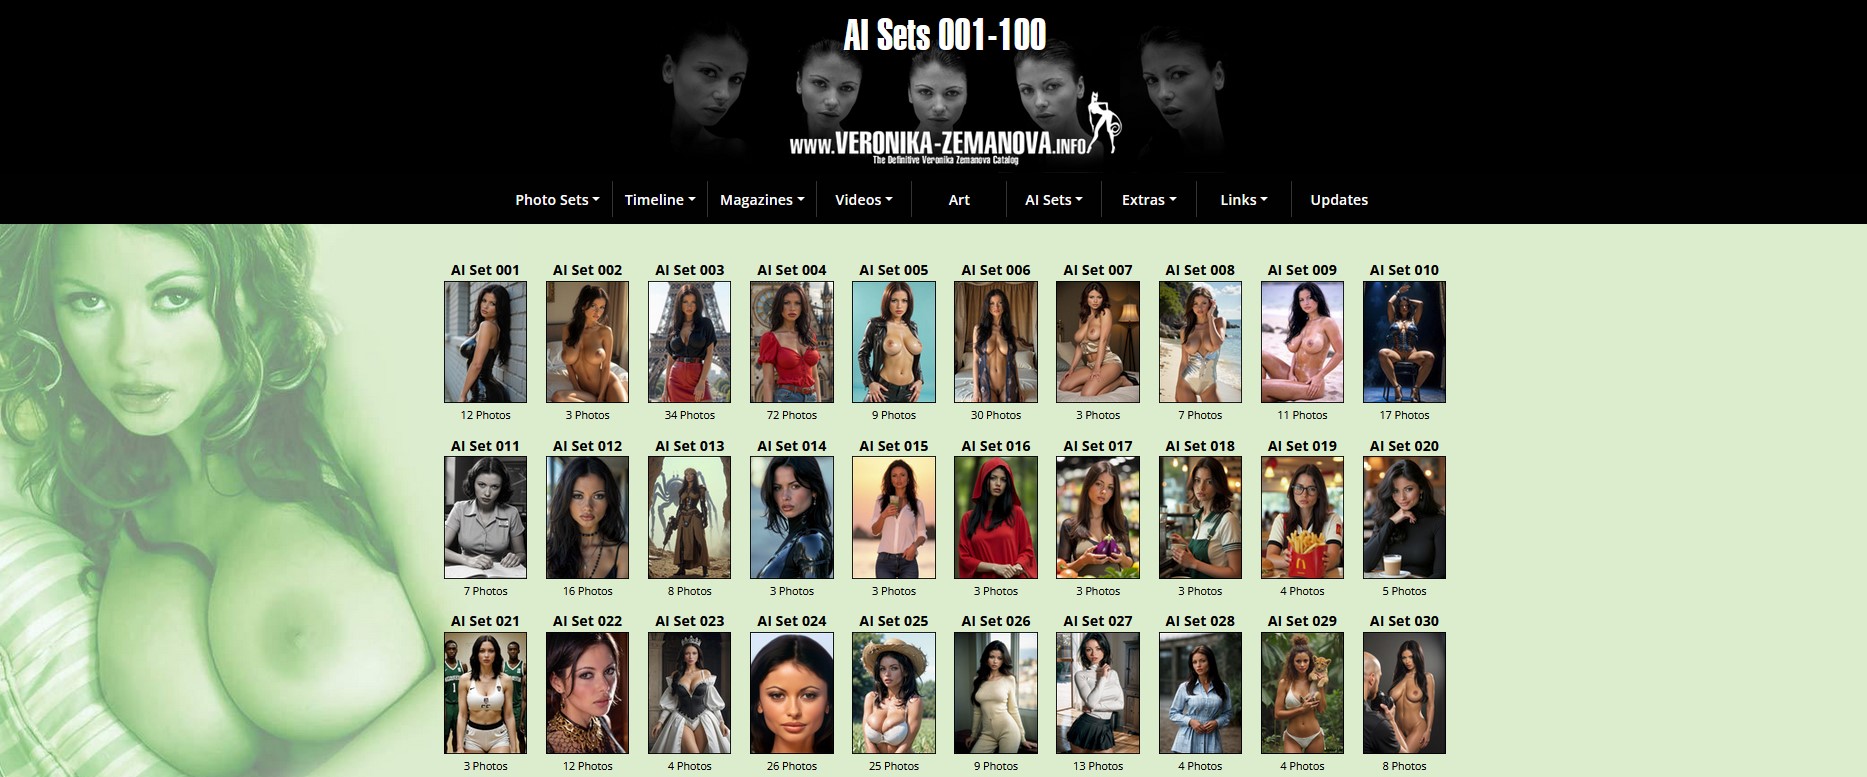
Here’s a link to the Set selection page: AI Sets.
Flux is a new AI image generation model developed by Black Forest Labs. It represents a significant advancement in AI-generated art, utilizing a ?hybrid architecture? that combines transformer and diffusion techniques, scaled up to 12 billion parameters. To date all images had been using a standard Stable Diffusion model which due it’s inherent nature limited the size and quality of the generated images.
FLUX.1 [dev] is the latest version for non-commercial use. Recently a user on CivitAI generated a Veronika LORA which is by far the most accurate representation of Veronika. We recently had a chance to try it out and the results are to say the least absolutely remarkable. Images now really capture the true essence of Veronika.
Here are a few examples …. I hope you agree!!!!